
Registration & Verification
How to Close a Binance Account Safely: What to Do Before You Delete
Closing a Binance account is easy — doing it without stranding funds or losing tax records is the part that needs a checklist. Five steps before you touch the delete button.
Closing an exchange account is one of those tasks that is trivial to do and easy to do badly. The deletion itself takes minutes; the expensive mistakes — stranded balances, lost tax records, an open P2P case blocking everything — come from what you skip beforehand. Whatever your reason for leaving (consolidating exchanges, moving to self-custody, simplifying your finances, or just being done with crypto), the exit checklist is the same five steps, in order, and the order matters.
One framing note before the list: if your reason for closing is a problem — a restriction, a dispute, a scare — closing is rarely the fix. A closed account does not erase history, and opening a fresh account later to "start clean" can trip multi-account rules. Solve the problem first (account locked or suspended covers those paths), then close if you still want to.
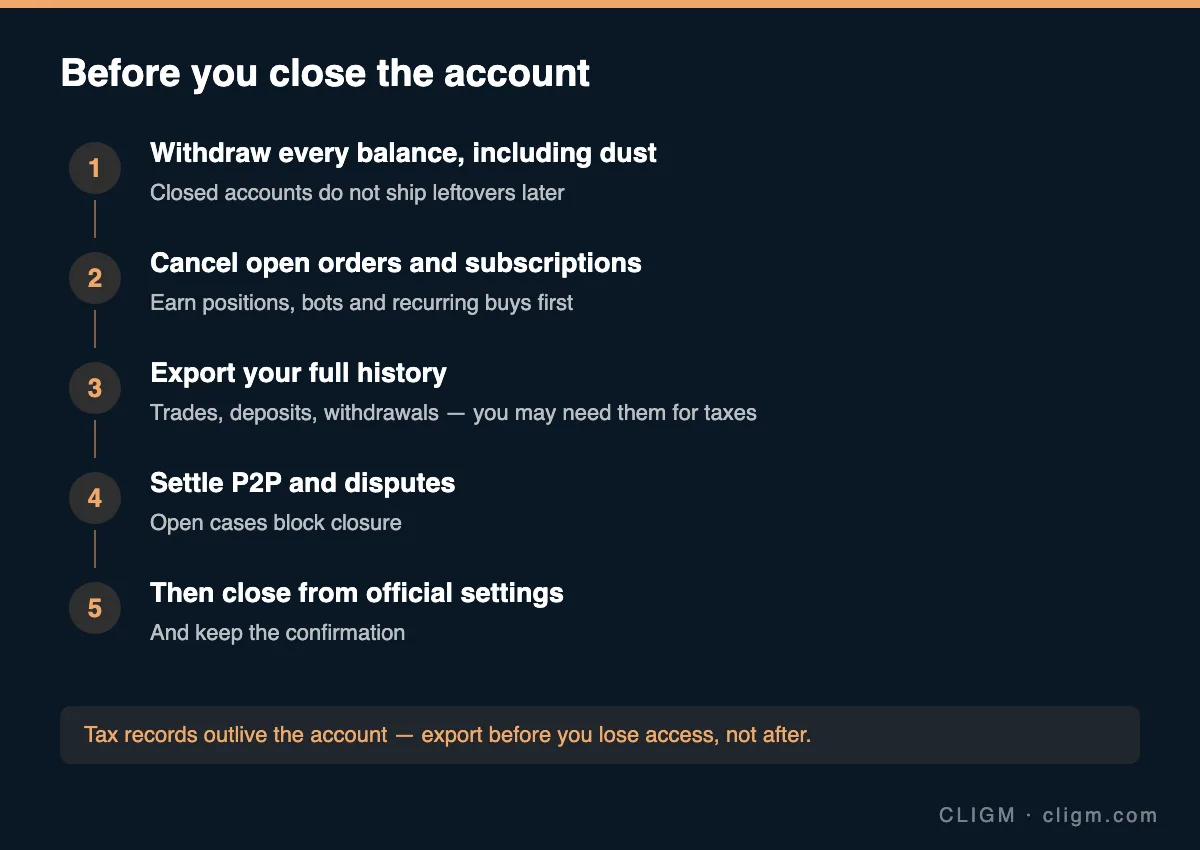
Step 1: empty every balance — including the invisible ones
A closed account does not mail you your leftovers. Sweep systematically, because balances hide in more places than the main wallet view:
- Spot wallet — the obvious one, but unhide small balances so dust is visible; batch-convert fragments with the small-balance tool first so nothing unsellable is left behind (the full method is in what to do with dust).
- Earn and staking positions — flexible products need redeeming; locked products may have end dates you must wait out or early-exit terms worth reading. This is the step that most often forces the timeline of the whole closure.
- Funding wallet — used by P2P and some products; commonly forgotten because it is not the default view.
- Fiat balances — withdraw to your bank while your verified account is in good standing; the routes and their costs are laid out in withdrawing to a bank account.
- Referral rewards, vouchers, distribution payouts — check the rewards sections; convert or claim what is claimable.
Then move the consolidated total out: to your bank for fiat, or to another exchange or self-custody wallet for crypto — with the usual transfer discipline of matching networks and a small test first (network selection guide). Plan around withdrawal limits and any recent-security-change cooldowns rather than discovering them mid-exit.
Step 2: cancel everything that acts on its own
Anything automated will either block closure or fail confusingly later: open Spot orders (including forgotten limit orders far from market price), recurring buys and auto-invest plans, trading bots, pending P2P orders, and card or payment integrations. Also revoke API keys — third-party portfolio trackers and tax tools with keys are the thing most likely to "mysteriously" show your account as alive after you thought you left. This is five minutes of unchecking and revoking, and it prevents the classic post-closure surprise: an auto-invest plan failing against an emptied fiat balance.
Step 3: export your history — the step you cannot redo
Everything else on this list is recoverable if you forget it. This one is not: once the account closes, your access to its records may end, and reconstructing crypto history without them ranges from painful to impossible. Tax authorities can ask about transactions years later; cost-basis calculations need acquisition records; and any future dispute about funds' origins is answered by these exports. Download: full trade history, deposit and withdrawal records (with TXIDs), fiat transaction history, P2P order history, Earn/staking income records, and — if you used them — statements from card products. Use the account statement or export functions rather than screenshots; store the files somewhere that outlives your current laptop. If you use crypto tax software, sync it fully via API before Step 2 revokes the keys.
Step 4: settle open cases
Open P2P appeals, active support tickets about funds, unresolved chargebacks, ongoing compliance reviews — accounts with open cases either cannot close or should not. Let each process finish properly (how P2P appeals resolve); an appeal abandoned mid-way usually resolves against the absent party, and "I closed the account" is not an argument reviewers can weigh. The same applies to risk-control holds: wait them out and withdraw, rather than closing around a frozen balance and hoping.
Step 5: close it officially, and keep proof
The deletion itself lives in the account or security settings of the official app or website — closure is something you initiate there, never through a link someone sends you ("your account requires deletion confirmation" emails are phishing, full stop). Expect identity verification and final confirmations designed to stop attackers from closing accounts maliciously. When it completes, save the confirmation — the email or a screenshot with dates — alongside your Step 3 exports. If you merely want distance rather than deletion, note the alternative: empty the account, revoke keys, secure it with strong 2FA, and leave it dormant. Dormant accounts cost nothing, preserve record access, and keep the door open; deletion is for when you specifically want the relationship ended and your data-retention clock started.
After closure, the data does not vanish instantly — exchanges retain records for legally mandated periods under financial regulations. What changes is your access, which is exactly why Step 3 came before Step 5.
CLIGM is an independent site and is not affiliated with Binance. Closure flows, retention policies and product-specific redemption terms vary by region and change over time — the official settings interface and its instructions are authoritative. Last reviewed: July 27, 2026.